
Subtitle: A plain-language guide for homeowners with a dripping kitchen or bathroom faucet.
Quick answer: Most drips are a worn washer, O-ring, or cartridge. A faucet dripping once per second can waste more than 3,000 gallons a year, according to EPA WaterSense. The fix usually takes under an hour once you know your faucet type: turn off the water, identify the type, replace the worn part, and test it. If the shut-off valve will not close, the faucet body is cracked, or water is leaking inside a wall, stop and call a plumber.
A dripping faucet is small, annoying, and easy to ignore. That steady drip wastes water, stains a sink, and keeps you awake at night. Most drips come from a worn washer, a loose part, or a tired cartridge — not from a broken pipe. This practical, US-focused guide will help you find the cause, fix it safely, and decide when a plumber is the smarter choice.
Why a Faucet Drips
A faucet controls water with a seal. When that seal wears out, hardens, or gets damaged by grit, water finds a tiny path through — and you hear it, drip by drip.
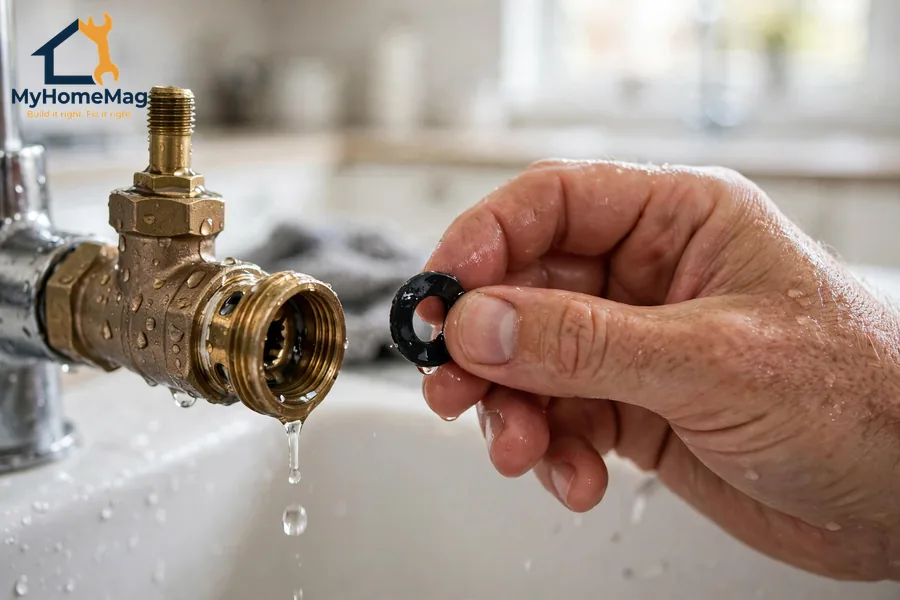
A faucet washer is a small rubber or fiber disc inside the valve. When you close the faucet, the washer presses against a metal seat and blocks the water. Every turn presses, twists, and rubs it against the seat. Hot water, hard water, and high pressure speed up the damage. Eventually the washer becomes thin, grooved, or brittle, and it no longer seals. The result is a steady drip, a faucet that needs an extra hard turn to stop, or a handle that feels loose.
A drip is rarely an emergency, but it is rarely free either. Fixing it early is cheaper than ignoring it, and it protects the seat underneath, which a worn washer can damage if left too long.
Safety Checklist: Before You Take Anything Apart
Work through this checklist before you open the faucet. It merges the safety steps from both source articles.
- Turn off the water at the shut-off valves under the sink, or at the main house supply if there are none.
- Open the faucet to drain it and release pressure. Keep a towel handy.
- Plug the drain so small screws and washers cannot fall down it.
- Take a photo of the faucet and each part as you remove it.
- Keep parts in order on a towel, in the order you took them off.
- Do not force anything. If a nut will not move, use penetrating oil and patience.
- Stop if you see damage — a cracked fitting, a corroded valve that will not close, a damaged supply line, or water leaking inside a wall.
- Stop if the shut-off valve will not close. Do not work on a faucet under pressure.
- Do not disturb old galvanized or lead pipes without advice. Brittle pipes can break.
What Type of Faucet Do You Have?
The repair depends on the faucet type, so identifying it first saves time and wrong parts. Do not buy parts before you know which faucet you have.
| Faucet type | How to recognize it | Most common drip cause |
|---|---|---|
| Compression | Separate hot and cold handles, each turns several times to close | Worn washer, damaged valve seat |
| Ball | Single handle that moves in all directions, common in older kitchens | Worn springs, seats, or ball |
| Cartridge | Single handle that turns or lifts, smooth movement | Worn cartridge or O-ring |
| Ceramic disc | Single lever, very smooth quarter-turn movement, modern design | Worn disc cartridge, damaged seal |
Most modern US kitchens and bathrooms use cartridge or ceramic disc faucets. Older homes often still have compression faucets. A compression faucet presses a washer down onto a valve seat to stop the flow; single-handle faucets usually need a cartridge, seal, or O-ring instead. If you are unsure, take a photo of the faucet and handle, and note the brand if it is marked.
Faucet Washer Types at a Glance
Not all washers are the same size or material, and using the wrong one can cause a new leak. This table comes from the secondary article and applies mainly to compression faucets.
| Washer type | What it looks like | Common use |
|---|---|---|
| Flat rubber washer | Flat disc, various diameters | Most compression faucets, hot and cold |
| Beveled rubber washer | One side angled, tapered edge | Faucets where a flat washer does not seat fully |
| Fiber washer | Hard, fibrous disc | Some older faucets, and as a backup seal |
| O-ring | Round rubber ring, not a flat disc | Sealing around valve stems and spouts, not the main shut-off |
| Ceramic disc cartridge | Two ceramic discs in a cartridge unit | Ceramic-disc faucets — a cartridge, not a washer |
A ceramic disc cartridge is not a washer, and it cannot be replaced with one. For most simple washer jobs, you will need a flat rubber washer in the right diameter. Take the old washer with you when you shop, or measure it carefully.
Tools and Parts You May Need
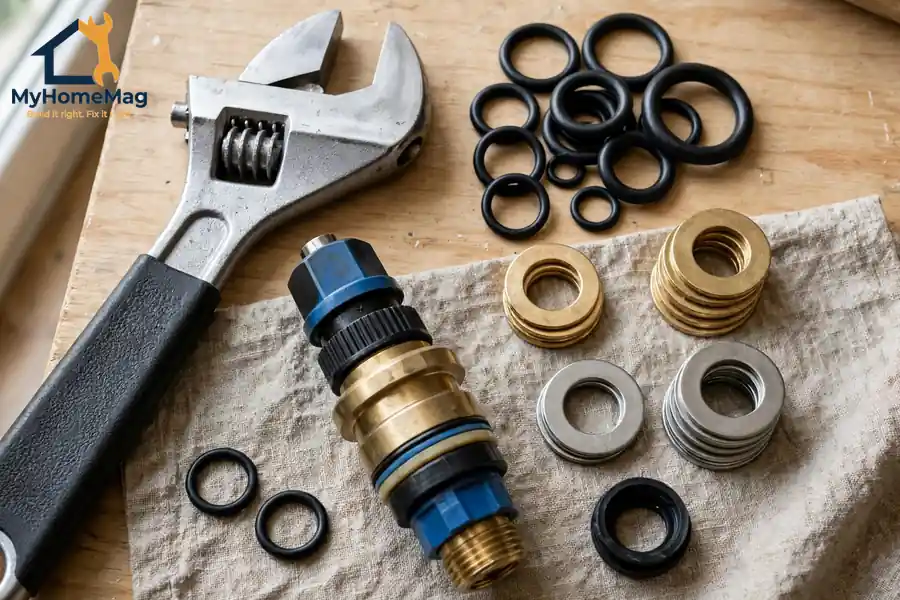
Gather these before you start: an adjustable wrench, screwdrivers (flathead and Phillips), Allen keys, and pliers with a cloth to protect chrome finishes; a replacement washer, cartridge, or O-ring set, matched to your faucet type and model; plumber’s grease, white vinegar, an old toothbrush, towels, a small bowl, and a plug for the sink drain; and a flashlight, for seeing under the sink and inside the faucet body. Universal washers fit many compression faucets, but cartridges are often brand-specific.
How to Fix a Leaky Faucet, Step by Step
Step 1: Turn Off the Water and Drain the Faucet
Turn off the shut-off valves under the sink, then open the faucet to drain it. If the valves leak or will not close, turn off the main supply instead, and open a lower faucet to relieve pressure.
Step 2: Remove the Handle
Look for a small screw, often hidden under a decorative cap. Pop the cap off gently, remove the screw, and lift the handle off. If it is stuck, wiggle it gently and use a little penetrating oil. Set the handle and screw aside in a small bowl, in the order you removed them.
Step 3: Remove the Cover and the Valve
Under the handle you will find a cover or retaining nut. Unscrew it with an adjustable wrench, protecting the finish with a cloth, and lift out the valve, stem, or cartridge, keeping the parts in order. Hold the faucet body steady. Take a photo here — cartridges often fit in only one position.
Step 4: Inspect the Washer, Seat, and Cartridge
Look at the washer first: is it flat, cracked, grooved, or missing a piece? A damaged washer confirms the diagnosis, and its size is your guide for the replacement. If the washer looks fine, the problem may be the valve seat — check it in the next step. For a cartridge faucet, look for cracks, stiffness, or worn O-rings, and replace the whole cartridge if it moves roughly.
Step 5: Check the Valve Seat
This is a dedicated step, not a footnote. The valve seat is the surface the washer presses against to stop the flow. If it is pitted, corroded, or rough, a new washer will wear out quickly, and the drip will return. Run a fingertip gently over the seat, and look for pits or grooves. A lightly damaged seat can sometimes be smoothed with a seat-dressing tool, following the tool’s instructions. A badly pitted or cracked seat may need replacement, or it may mean the faucet itself should be replaced. If you are unsure, take a photo of the seat to a hardware store, or call a plumber.
Step 6: Replace the Worn Part
Match the repair to your faucet type. For compression faucets, replace the washer at the bottom of the valve stem, refit the holding screw snugly, and apply a light smear of plumber’s grease. Do not stretch a washer to fit, and do not stack two washers. For ball faucets, replace the springs, seats, and O-rings as a kit. For cartridge faucets, fit an exact replacement for your brand and model. For ceramic-disc faucets, replace the disc cartridge as a unit.
Step 7: Reassemble, Slowly and in Order
Put the parts back in reverse order, using your photo as a guide. Tighten nuts firmly, but do not over-tighten — especially on chrome fittings, which can crack. Replace the handle, its screw, and the decorative cap. Close the faucet gently from now on, rather than forcing the handle tight.
Step 8: Turn the Water Back On and Test
Turn the water back on slowly, first at the under-sink valves, then at the faucet. Check for leaks around the handle, spout, and base before you put tools away. Run the faucet for a minute, then turn it off and watch. A single drip that stops within a few seconds may just be residual water in the spout. A steady drip means a part is not seated, the wrong part was fitted, or the valve seat needs attention. Check three places: the spout, the handle area, and under the sink.
Common Causes at a Glance
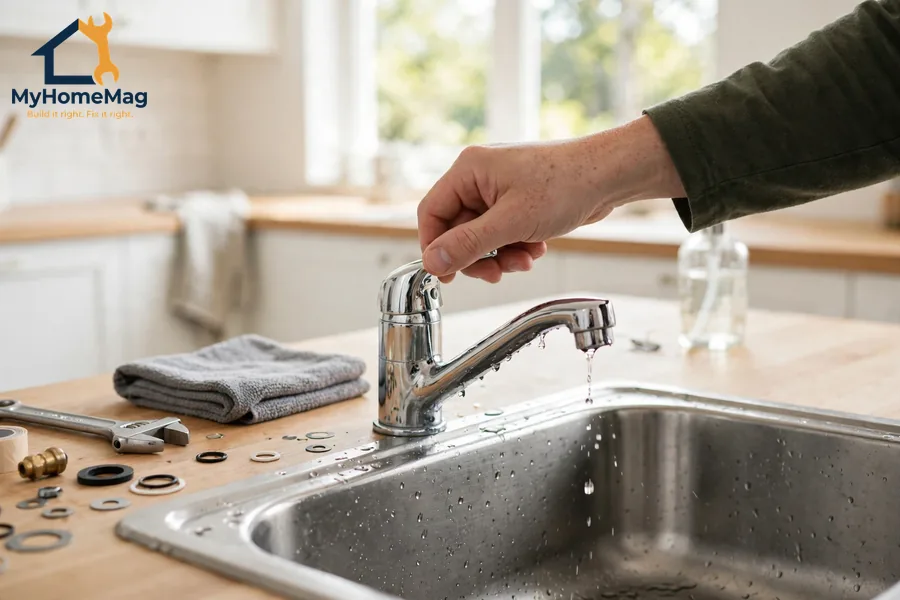
Use this table as a starting point. The inspection in Steps 4 and 5 will tell you which row fits your faucet.
| Cause | What you usually see | Most likely fix |
|---|---|---|
| Worn faucet washer | A steady drip from the spout, worse over time | Faucet washer replacement |
| Worn O-ring | Water leaking around the handle or base | Replace the O-ring set |
| Worn cartridge | A single-lever faucet that drips, sticks, or feels rough | Replace the cartridge |
| Damaged valve seat | A new washer still leaks, or the drip returns quickly | Clean or dress the seat, or call a plumber |
| Loose or damaged handle parts | A wobbly handle and an intermittent drip | Tighten or replace the handle parts |
| High water pressure | Drips from several faucets, or a faucet that is hard to close | Check pressure and ask a plumber about a regulator |
High water pressure can make a drip worse and wear seals faster. A reading well above 80 psi is high for a home system, and a pressure regulator may need adjustment by a plumber. The 80 psi figure is a code maximum in the International Plumbing Code, Section 604.8, and local code and fixture ratings vary.
If the Drip Comes Back
A drip that returns quickly usually has a reason. First, check whether the replacement part matched exactly — a washer a fraction too small, or a cartridge for a different model, will seal for a day and then fail. Next, check the valve seat again, because a rough seat destroys washers. Also check that you did not over-tighten anything. If the drip remains, check your water pressure, look at the spout and base for cracks, and check supply lines under the sink for dampness.
For other water problems in the home, see the washing machine leaking guide and the dishwasher not draining guide on MyHomeMag.
Prevention: Small Habits That Stop Most Drips
- Do not over-tighten faucets, or force the handle past its natural stop.
- Replace washers at the first sign of a drip, before the seat gets damaged.
- Clean aerators and filters regularly, so grit does not reach the valve.
- In hard-water areas, descale faucets from time to time.
- Check under sinks every few months for slow leaks.
- Keep a small washer assortment at home, and consider turning off the main supply on a long holiday.
When to Call a Plumber — and What It May Cost
Call a plumber if the shut-off valves do not work, a fitting is cracked or badly corroded, the valve seat is deeply pitted, water is leaking inside a wall or under a floor, or you have tried a matched replacement part and the drip keeps coming back. Call a professional if the faucet is a high-end, wall-mounted, or shower mixer with a complex cartridge, or if several faucets drip at once.
All figures below are approximate US planning ranges only, not quotes. Actual prices vary by faucet brand, parts, and local labor rates.
DIY parts
| Part | Approximate US planning range |
|---|---|
| Single replacement washer | $1–$5 |
| Washer assortment pack | $5–$15 |
| O-ring set, if needed | $5–$12 |
Professional repair
| Job | Approximate US planning range |
|---|---|
| Faucet washer replacement by a plumber | $100–$200, including parts and labor |
| Cartridge replacement by a plumber | $150–$300, including parts and labor |
| O-ring or seal replacement | $100–$250, including parts and labor |
| Valve seat repair or faucet replacement | $200–$450, depending on the faucet and access |
| Fixing a shut-off valve that will not close | $150–$350, depending on access |
| New valve or cartridge, fitted by a pro | $150–$350, depending on parts |
Note: the secondary article also gave a general plumber repair visit range of $100–$250. The specific washer figure above ($100–$200) is the one to use for a washer job. If the faucet itself is old, corroded, or hard to find parts for, replacing the whole faucet can be smarter than repairing it again.
A Practical Final Check Before You Call It Done
Before you put the tools away, run the faucet, turn it off, and leave it for ten minutes. Check the spout, the handle, the base, and under the sink. A repair that looks dry for thirty seconds can still show a slow drip after a few minutes.
Frequently Asked Questions
1. What is the most common reason a faucet drips?
A worn washer or seal. Every time a faucet is turned off, the washer is squeezed against its seat, and over time it flattens, cracks, or hardens. Check the washer first, especially on older compression faucets.
2. Can I fix a dripping faucet myself?
Usually yes, if the shut-off valve works and you can identify the faucet type. A washer or cartridge swap takes under an hour. If the valve will not shut, the body is cracked, or you cannot find the correct part, call a plumber. No plumbing experience is needed beyond basic hand tools and care.
3. How do I know if I need a washer or a cartridge?
Faucets with separate hot and cold handles that turn several times usually use a washer. Single-handle faucets that lift or turn use a cartridge or ceramic-disc cartridge, and should be replaced with an exact match for the brand and model — a generic cartridge may not fit.
4. Should I turn off the water before fixing a faucet, or can I fix it without turning it off?
Yes, always turn off the water first — at the under-sink valves, or at the main supply. Working on a live faucet risks a spray, water damage, and a hard-to-control stream. Keep a towel and a bucket nearby.
5. Is a dripping faucet a big problem?
It is small at first, but it wastes water, stains sinks, and can damage the valve seat if it is ignored. A one-per-second drip can waste more than 3,000 gallons a year, which is also a cost on a metered bill.
6. Why does my faucet still drip after I replaced the washer?
The most common causes are a damaged valve seat, the wrong washer size or type, or a cartridge that was not an exact match. Check the seat for pitting, and make sure the replacement part is correct.
7. How long should a faucet repair last?
A good washer repair should last years, depending on water quality and how often the faucet is used. Faucets in hard-water areas wear faster. Avoid over-tightening handles, and keep aerators clean.
Keep Reading on MyHomeMag
Explore more practical guides on the MyHomeMag homepage, or browse the Home Repairs category for more plumbing and household repair guidance.
2 Responses