Introduction
If your hot water runs out faster than it used to, sounds like popping or rumbling, or comes out a little cloudy, sediment may be the reason. For example, minerals in tap water settle at the bottom of a water heater tank over time. Moreover, that sediment layer acts like insulation between the burner or heating element and the water. As a result, the heater works harder, heats more slowly, and can wear out sooner. In short, learning how to flush a water heater is one of the simplest maintenance jobs a homeowner can do. However, it involves hot water, electricity or gas, and a pressure relief valve, so safety comes first. This guide walks through the job in plain language, with clear steps and honest limits. It is part of MyHomeMag‘s Home Systems & Upkeep guides.
Why Flushing Matters
A water heater rarely fails all at once. Instead, it slowly loses efficiency as sediment builds up. For example, a family may notice showers turning lukewarm sooner, or the heater cycling on more often. Moreover, sediment can trap heat against the bottom of the tank, which stresses the metal and shortens its life. In some homes it also causes odd noises that sound alarming but are simply steam bubbles escaping through sediment. However, flushing is not a cure for every problem. If the tank is leaking from the bottom, badly rusted, or more than 12 to 15 years old, a flush will not restore it. In that case, a professional assessment is the safer next step.
How Often Should You Flush?
Most manufacturers suggest flushing once a year. However, the right frequency depends on your water. For example, homes with hard water — water high in calcium and magnesium — may need flushing every six months. Moreover, if you have a water softener, sediment may build up more slowly. In short, a yearly flush is a good starting point. A simple test is to drain a small amount of water from the drain valve into a bucket once a year. If the water looks clear, your schedule is probably fine. If it looks gritty or cloudy, flushing more often may help.
Safety Checklist: Read This First
Do not skip this section. Hot water can cause serious burns, and gas and electricity both demand respect.
- Turn off the power or gas before you start, and leave it off until the tank is full again.
- Let the water cool for several hours, or overnight if possible, before draining.
- Wear gloves, long sleeves, and closed shoes. Keep children and pets away.
- Never drain a tank while the heating element or burner is on. An exposed element can burn out in seconds.
- Do not block, plug, or cap the temperature and pressure relief valve. It is a safety device.
- Check where the drain water will go. It may still be hot, and can damage plants or floors.
- Stop and call a professional if you smell gas, see damaged wiring, find a leaking tank, or cannot shut off the water supply.
Moreover, if you are unsure whether your heater is gas or electric, check for a gas line and pilot panel, or a breaker labeled water heater.
Tools You Will Need
You do not need special tools for most tanks. However, gathering everything first keeps the job calm and tidy. You will need a garden hose long enough to reach a safe drain point, a bucket, towels, work gloves, eye protection, and a flashlight. Plan the drain route before you open any valve, and make sure the hose end will stay in place while water flows.
Know Your Heater Type: Gas or Electric?
The steps are similar, but the shut-off step is different. For an electric heater, switch off the dedicated breaker and tape a small note over it so no one switches it back on while you work. In short, no power should reach the heater until the tank is full again. For a gas heater, turn the gas control knob to pilot or off, following the label on the heater. However, some older models require relighting the pilot after the job. If you have never relit a pilot, read the instructions on the heater first. If you smell gas at any point, leave the area, do not switch lights on or off, and call your gas utility or a professional from outside the home.
Step-by-Step: How to Flush a Water Heater
Step 1: Turn Off the Heat Source
Switch off the breaker for an electric heater, or turn the gas control to pilot or off for a gas heater. Moreover, confirm the setting by checking the control panel. This protects the heating elements and prevents the burner from firing while the tank is empty.
Step 2: Let the Water Cool
Wait at least a few hours after shutting off the heat. For example, many homeowners turn the heater off the night before and do the job in the morning. However, if you are short on time, at least let the water cool enough that the first bucket of drain water is not scalding.
Step 3: Turn Off the Cold Water Supply
Find the cold water inlet valve at the top of the tank, usually marked cold or blue, and close it. This stops new water from entering while you drain. Moreover, open a hot water tap somewhere in the house, such as a kitchen sink. This lets air in so the tank can drain smoothly.
Step 4: Connect the Hose and Open the Drain Valve
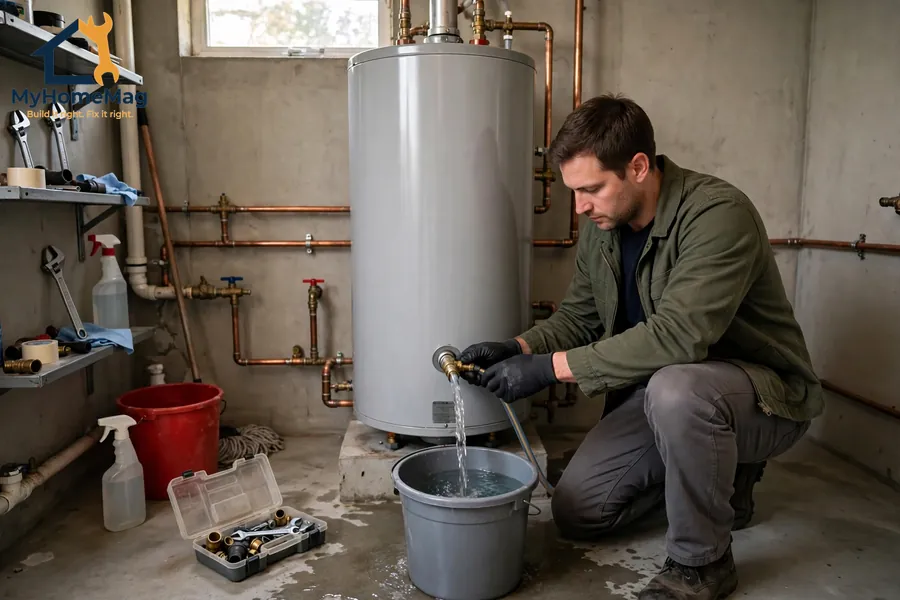
Attach the garden hose to the drain valve near the bottom of the tank. Run the other end to a safe drain point, outside and downhill if possible, or to a floor drain that can handle hot water. Open the drain valve slowly, check for leaks at the hose connection, then open it fully. Draining can take 20 to 60 minutes depending on tank size and sediment.
Step 5: Flush Out the Sediment
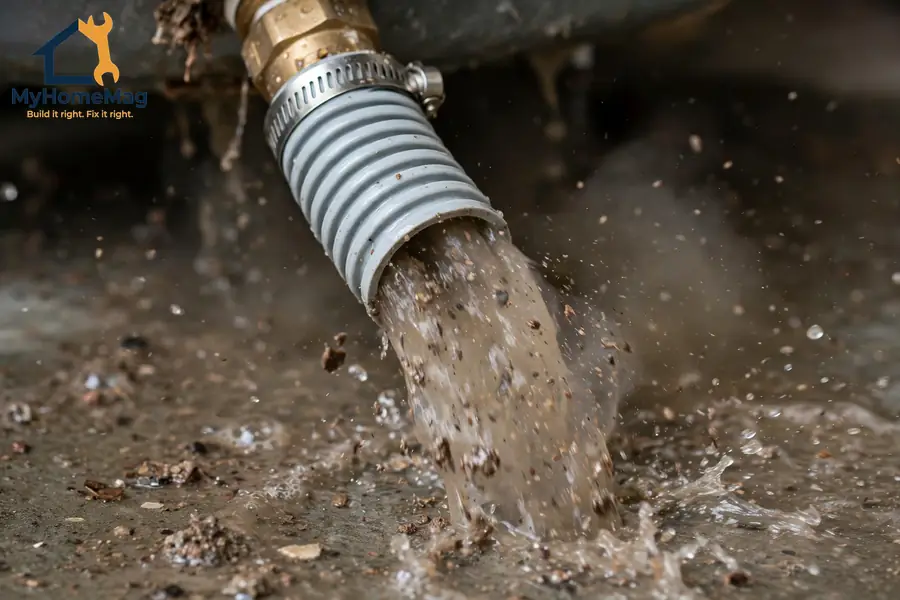
Once the tank is empty, briefly turn the cold water supply back on for a few seconds, then off again. This surge stirs up sediment and pushes it out through the drain valve. Moreover, repeat this two or three times until the water coming out of the hose runs clear. If the drain valve clogs, close it, wait a moment, and open it again. For example, a gentle back-and-forth motion can clear small blockages. If the valve stays blocked or leaks badly, stop and call a professional rather than forcing it.
Step 6: Close the Drain Valve and Refill the Tank
Remove the hose, close the drain valve firmly, and then open the cold water supply fully. Moreover, keep a hot water tap open in the house. You will hear air sputtering out at first. That is normal. Wait until water flows steadily with no sputtering. In short, that steady flow tells you the tank is full. Only then close the tap.
Step 7: Turn the Heat Back On — and Check
For an electric heater, switch the breaker back on. For a gas heater, turn the gas control back to normal and relight the pilot if needed, following the heater instructions. Moreover, check around the drain valve, inlet, and relief valve for drips over the next hour. For example, a slow drip from the drain valve after flushing is common if sediment is caught in the seal. Sometimes opening and closing the valve once more clears it. However, if the drip continues, or if the relief valve keeps discharging, call a professional. Do not plug either valve.
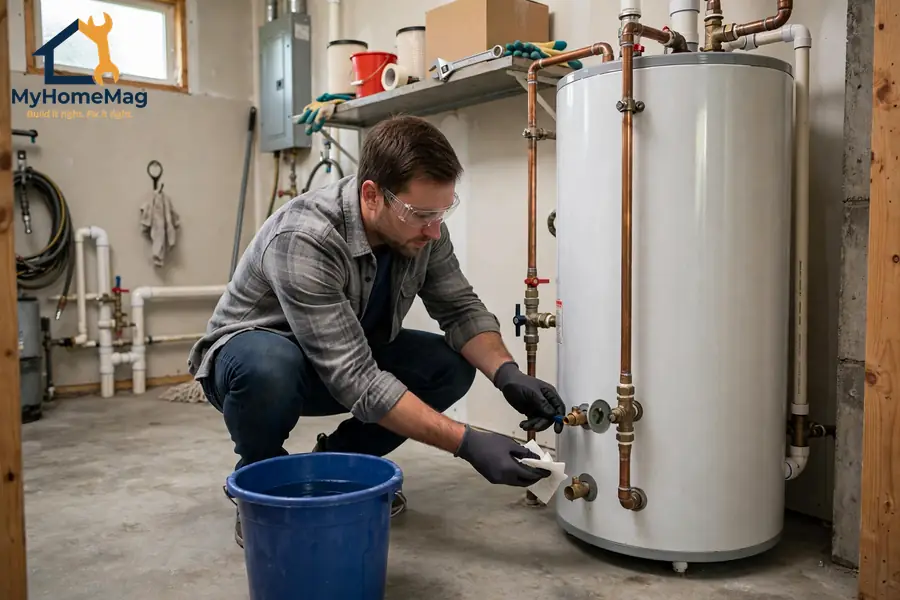
Flushing Steps at a Glance
| Step | What to do | Why it matters |
|---|---|---|
| 1. Heat off | Breaker off, or gas to pilot/off | Protects elements and burner |
| 2. Cool down | Wait several hours or overnight | Prevents burns |
| 3. Water off | Close cold inlet, open a hot tap | Lets the tank drain smoothly |
| 4. Drain | Hose to a safe drain, open drain valve | Removes sediment and old water |
| 5. Rinse | Short cold-water bursts, repeat until clear | Clears sediment from the tank bottom |
| 6. Refill | Close drain valve, open cold supply, wait for steady tap flow | Tank must be full before heating |
| 7. Heat on | Breaker on, or gas on and pilot relit, then check for drips | Restores hot water safely |
Common Problems and What They Mean
An older plastic drain valve can become stiff or brittle. However, forcing one can crack it and cause a flood. For example, if it will not move with gentle pressure, stop and call a plumber, who can replace it safely, often with a sturdier brass valve. If several flush bursts do not clear the water, the sediment layer may be thick. Moreover, cloudy hot water can also come from the water supply itself. In short, if cold water is clear but hot water stays cloudy after a full flush, ask a professional to check the heater and the anode rod. Our guide to water heater anode rod replacement explains how that part protects the tank. If there is no hot water after refilling, first check the breaker or gas control, and check that the tank is actually full. If the heater is on, the tank is full, and there is still no hot water after a few hours, the element, thermostat, or gas control may have failed, and a professional diagnosis is the next step.
When to Call a Professional Instead
Flushing is a do-it-yourself job for many homeowners, but not for every situation. Call a professional if the tank is leaking, rusted, or bulging, if you smell gas or the pilot will not stay lit, if wiring looks damaged or wet, if the drain valve is broken or leaking heavily, if the relief valve discharges repeatedly, or if the heater is very old and has never been flushed. Moreover, a professional flush is usually a straightforward visit, and a good time to ask about the heater’s age, anode rod condition, and expected remaining life. In short, paying for help is cheaper than paying for water damage.
What Does a Professional Flush Cost?
Costs vary by region, heater type, and whether other work is needed. As approximate US planning ranges, not quotes, a professional water heater flush often falls in the $100 to $300 range. However, if the visit also includes an anode rod check, valve replacement, or other repairs, the total can be higher. For example, a simple flush on an accessible electric tank in a garage may sit at the lower end. Moreover, a gas tank in a tight crawl space, or one with a stuck valve, may cost more because the job takes longer. Always ask what is included before work starts.
Prevention and Final Checks
You cannot stop sediment entirely, but you can slow it down. For example, setting the thermostat to 120 degrees Fahrenheit, as many safety guides recommend, reduces scald risk and can reduce mineral buildup compared with very high settings. For seasonal system care beyond the water heater, see our HVAC maintenance checklist. And while you are checking the plumbing, a dripping tap may need a quick fix too — see our guide to tap washer replacement. Before you finish, confirm: the heat is back on only after the tank is full, the drain valve is closed and not dripping, the cold supply is fully open, hot taps run steadily, and there are no leaks around fittings.
Conclusion
Learning how to flush a water heater is a practical skill that protects your hot water, your energy bill, and your heater’s lifespan. For example, one careful annual flush can reduce noise, improve heating, and give you an early warning about bigger problems. In short, follow the safety steps, drain and rinse until the water runs clear, refill fully before turning the heat back on, and know when to call for help. That balance — confident care, plus respect for hot water, gas, and electricity — is what keeps a simple maintenance job simple.
Frequently Asked Questions
1. How often should I flush my water heater?
Most homes should flush once a year. However, homes with hard water may need flushing every six months, while homes with a water softener may manage with a yearly flush. Check the drain water once a year and adjust from there.
2. Can I flush a water heater myself, or do I need a plumber?
Many homeowners can flush a water heater themselves if they can safely turn off power or gas, let the water cool, and drain to a safe place. However, call a professional if the tank leaks, the valve is stuck, you smell gas, or you are unsure about any step.
3. How long does it take to flush a water heater?
Draining usually takes 20 to 60 minutes, depending on tank size and sediment. Moreover, cooling time adds several hours if you wait for the water to cool safely. In total, plan for a morning or afternoon, not a rushed half hour.
4. What if the water is still cloudy after flushing?
If several rinse bursts do not clear the water, sediment may be thick, or the problem may be elsewhere in the system. For example, check whether cold water is also cloudy. If only hot water is cloudy after a full flush, ask a professional to check the heater and anode rod.
5. Do I need to turn off the power or gas before flushing?
Yes, always. Turn off the breaker for an electric heater, or turn the gas control to pilot or off for a gas heater, before draining. Moreover, do not turn the heat back on until the tank is completely full again, or you may damage the heating elements or burner.