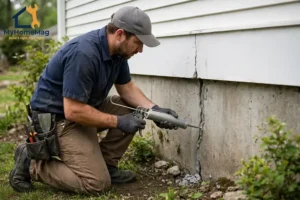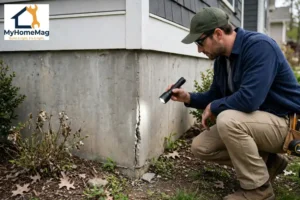
Fixing foundation cracks from the outside sounds like a big job, and sometimes it is. However, for many common cracks, the outside approach makes the most sense, because it stops water before it reaches the wall, rather than simply covering the crack from inside.
For example, a crack that leaks after heavy rain is usually a water problem as much as a concrete problem. Moreover, sealing it from the inside may hide the stain, while water still travels through the wall. In short, an outside repair treats the source, not just the symptom.
This guide is practical and US-focused. It explains which outside repairs suit which cracks, what you can safely do yourself, what needs a professional, and when a crack is a warning sign that needs an engineer first.
Why Fix a Crack From the Outside?
A foundation wall has two jobs: hold up the house and keep water out. When a crack opens, water finds the easiest path through it, especially when soil around the house is wet.
An inside seal, such as an epoxy injection applied from a basement wall, can work well for some dry, stable cracks. However, it does not protect the outside face of the wall, and it does not fix the soil, drainage, or waterproofing that let water reach the crack in the first place.
An outside repair, by contrast, usually combines three things. First, the crack itself is cleaned and sealed. Second, a waterproof layer is added over the repaired area. Third, drainage around the house is improved, so water moves away instead of pressing against the wall.
First, Know What Kind of Crack You Have
Before you dig, look carefully at the crack. Its shape, width, and movement tell you a lot about whether an outside repair is suitable, or whether you should stop and get expert advice.
Hairline cracks, less than about one-sixteenth of an inch wide, are very common in poured concrete and block walls. They often appear as concrete cures, and many never leak or grow. A wider vertical crack, on the other hand, can signal settlement, while a horizontal crack or a stair-step crack in blockwork deserves closer attention.
Measure the crack at its widest point, photograph it with a coin or ruler for scale, and check it again after a month and after heavy rain. If it is growing, if one side is shifting, or if doors and windows are sticking, do not treat it as a simple DIY seal. Those signs point to movement, and movement needs diagnosis before repair.
Also check for water: a crack damp only after rain is often a drainage and sealing job, while one that is always wet, or that grows, needs a closer look.
Safety First: When to Stop and Call a Professional
Outside foundation work involves digging, heavy soil, water, and sometimes electrical, gas, and sewer lines. Safety is not an optional extra here.
- Call 811 before you dig. In the United States, call 811, or your local utility marking service, before any excavation, even a shallow one. Do not guess where lines are buried.
- Do not dig below a safe depth without support. A deep, narrow trench can collapse. Keep trenches shallow for DIY work, and leave deep excavation to professionals with proper shoring.
- Stop if the crack is horizontal, wide, or moving. Horizontal cracks, cracks wider than about a quarter inch, bulging walls, and cracks that keep growing are structural warning signs.
- Stop if water is pouring in or the wall is bowing. That is not a sealant job. It needs an engineer or a foundation contractor.
- Watch for electrical and gas hazards. Do not dig near meters, buried cables, or gas lines, and do not use power tools near standing water.
- Protect yourself from dust and damp. Wear gloves, eye protection, and a dust mask when cleaning concrete, and wash up after handling sealants.
In short, a small, stable, vertical crack with a clear leak path is the best candidate for a careful outside repair. Anything structural, moving, or deep is a professional job.
Exterior Repair Methods at a Glance
Not every outside repair is the same. The right method depends on the crack type, the wall material, and whether water is the main problem.
| Method | Best for | What it involves | Typical DIY or pro? |
|---|---|---|---|
| Surface seal with polyurethane or epoxy | Small, dry, stable hairline cracks | Clean, fill, and smooth the crack from outside | DIY for small areas |
| Injection from outside | Narrow cracks that leak | Inject sealant into the crack to fill it through the wall | Often pro, sometimes DIY kits |
| Waterproof membrane patch | Leaking cracks and weak joints | Seal the crack, then apply a membrane over the area | Pro for large areas, careful DIY for small patches |
| Exterior waterproof coating | Damp walls and minor seepage | Coat the exposed wall with a waterproof product | DIY for small areas |
| Drainage improvement | Cracks that leak after rain | Regrade soil, add gutters, extend downspouts, add a drain | DIY for grading and gutters, pro for drains |
| Full excavation and membrane | Repeated leaks, failed coatings | Dig to the footing, repair, membrane, drainage board, backfill | Professional job |
Use this table as a starting point. A single crack may need more than one method, for example a seal plus a membrane plus better drainage. That layered approach is usually stronger than sealant alone.
Step by Step: A Careful Outside Seal for a Small Crack
This sequence suits a small, stable, vertical crack in a poured concrete or block wall, where you can safely expose the wall without deep digging. If any step reveals a bigger problem, stop and get advice.
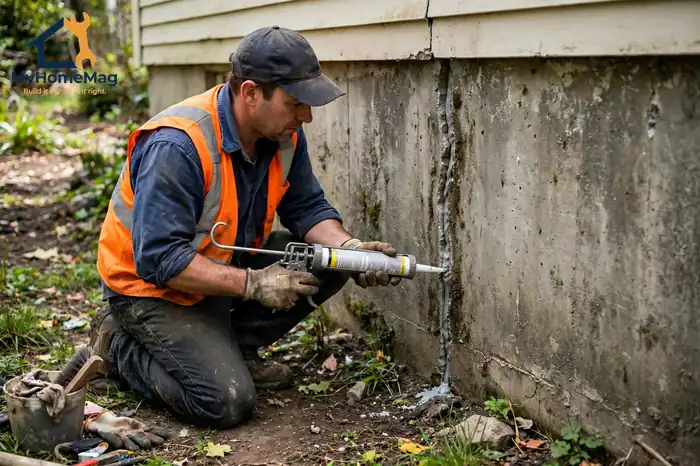
First, clear the area. Move plants, mulch, and stored items away from the wall, and mark any utility lines. Then dig down carefully, just far enough to expose the full crack and a little beyond it on each side. Keep the trench wide enough to work safely, and pile soil away from the edge.
Next, clean the wall. Brush off loose concrete, soil, and old paint or coating, and let the surface dry as much as possible. A clean, dry surface helps sealant bond. Moreover, a wire brush and a stiff broom usually do more good than a pressure washer, which can drive water deeper into the crack.
Then fill the crack. For a small crack, apply a polyurethane or epoxy sealant made for concrete, following the product instructions, and work it into the crack rather than just bridging over the top. Smooth it flush with the wall, and allow the curing time the product specifies. Do not paint over it until it is fully cured.
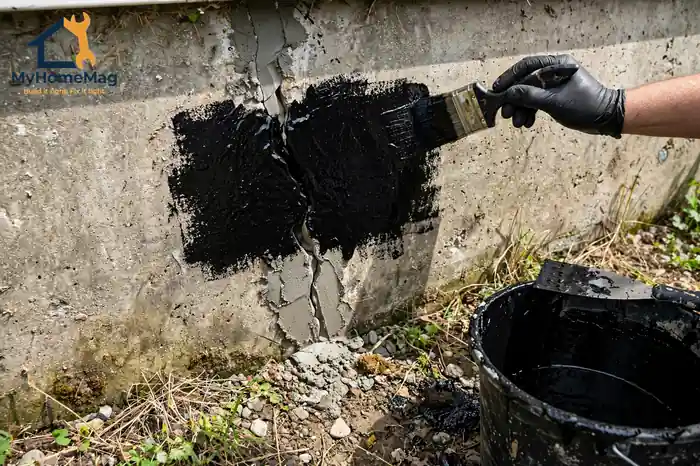
After that, add protection. For a leaking crack, apply a waterproof membrane or coating over the sealed area, extending at least six inches beyond the crack on each side. This second layer matters, because sealant alone can fail if water pressure builds behind it.
Finally, backfill carefully. Replace soil in thin layers, compact it lightly, and slope it away from the house. Do not dump large rocks against the wall, and do not push heavy equipment against a freshly sealed area.
Drainage Around the House: The Repair That Prevents the Next Crack
Many outside crack repairs fail because drainage is ignored. Water pooling against a foundation puts constant pressure on the wall, and that pressure will find the next weak point, even if the first crack is sealed.
Start with the simplest checks. Soil should slope away from the house for at least six feet, dropping about six inches over that distance where possible. Gutters should be clean, downspouts should discharge at least four to six feet from the house, and splash blocks or extensions should direct water away, not back toward the wall.
For example, a downspout that ends right beside a cracked wall can undo an otherwise good repair in a single storm. Moreover, a flower bed that holds water against the wall, or a driveway that slopes toward the house, can cause the same problem.
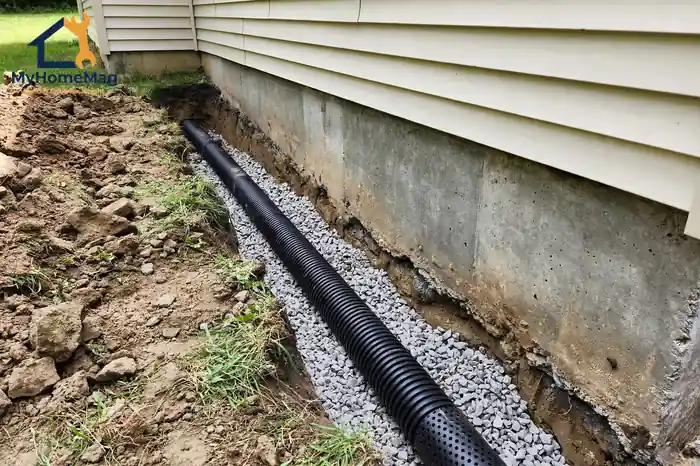
In some cases, a French drain or an exterior drain tile helps, especially where the ground is flat or water collects. That is usually a professional job, because it involves deeper digging, correct slope, and a safe discharge point. However, the basic principle is the same for every house: keep water moving away, and the foundation stays drier.
When to Call a Structural Engineer
A sealant tube cannot fix a structural problem, and pretending otherwise can be expensive. Call a structural engineer, not just a repair company, if you see any of these signs.
Horizontal cracks, especially in the middle of a wall, can indicate pressure from soil or water pushing the wall inward. Stair-step cracks in block walls, cracks that are wider at the top than the bottom, and walls that bow, lean, or show displaced blocks all need engineering advice.
Other warning signs include cracks that keep growing, new cracks appearing after a repair, floors that slope or bounce, and doors or windows that suddenly stick. In those cases, an engineer can tell you whether the problem is settlement, soil pressure, drainage, or something else, and what repair will actually last.
What an Outside Repair May Cost
Costs vary widely by region, wall type, crack size, and how much digging is needed. The ranges below are approximate US planning ranges only, not quotes, and they assume a typical single-family home.
| Job | Approximate US planning range |
|---|---|
| DIY sealant and small membrane patch | $50–$250 for materials |
| Professional crack injection from outside | $300–$800 per crack |
| Exterior membrane patch, small area | $500–$1,500 |
| Drainage fixes: grading, gutters, downspout extensions | $200–$2,000, depending on scope |
| French drain or exterior drain tile, professional | $3,000–$10,000+, depending on length and depth |
| Full excavation, membrane, and drainage board | $5,000–$15,000+, depending on wall length |
| Structural engineer assessment | $300–$800, depending on region |
If a quote seems far below these ranges, ask what it includes. A cheap surface seal without drainage or membrane work may look good for a season, then fail. Conversely, a very high quote should explain why full excavation is needed, rather than a smaller repair.
Prevention: Keeping the Next Crack Dry
Once a crack is repaired, prevention is mostly about water and soil, not about the concrete itself.
Check gutters and downspouts twice a year, in spring and fall, and after major storms. Keep soil sloped away from the house, and avoid planting large shrubs or trees too close to the wall, where roots can disturb soil and drainage.
Watch for new cracks during seasonal changes, especially after drought followed by heavy rain, when soil expands and contracts. Photograph any new crack, measure it, and check it again in a month. Early attention is cheaper than a late repair.
In addition, avoid stacking soil, mulch, or firewood against the foundation, and keep irrigation sprinklers from spraying the wall. Small habits like these reduce constant dampness, which is the main enemy of any outside seal.
A Practical Final Check
Before you consider the job finished, run through a simple check after the next heavy rain. Is the wall dry inside and out? Is there any new staining, dampness, or bubbling paint near the repair? Is soil still sloping away, and are downspouts still discharging clear of the house?
If the answer is yes to dryness and good drainage, the repair is doing its job. If dampness returns, do not simply add more sealant on top. Look again at drainage, membrane coverage, and whether the crack itself has moved. A repair that needs constant resealing is telling you something about water or movement, and that message is worth listening to.
FAQs
Is fixing foundation cracks from the outside better than from the inside?
Often, yes, for leaking cracks, because an outside repair stops water before it reaches the wall, and it can include a membrane and drainage improvements. However, an inside injection can work well for a dry, stable crack, and it is cheaper and less disruptive. The best choice depends on whether water, movement, or both are causing the problem.
Can I fix a foundation crack from the outside myself?
You can tackle a small, stable, vertical crack with careful digging, cleaning, sealing, and a membrane patch, provided you call 811 before digging and keep the work shallow and safe. However, deep excavation, horizontal cracks, wide cracks, bowing walls, and growing cracks should be left to professionals, and structural concerns should go to an engineer first.
How much does fixing foundation cracks from the outside cost?
A DIY sealant and membrane patch may cost $50–$250 in materials, while a professional injection often runs $300–$800 per crack. Larger work, such as a French drain or full excavation with membrane, can cost several thousand dollars. These are planning ranges only, and actual prices vary by region, wall length, and digging depth.
Will an outside repair stop water coming through the crack for good?
It can, if the seal, membrane, and drainage all work together, and if the crack is stable. However, no seal will last if water keeps pooling against the wall, or if the crack keeps moving. That is why drainage checks, grading, and gutter extensions matter as much as the sealant itself, and why a moving or structural crack needs diagnosis before repair.
Related Guides
- MyHomeMag — practical home guides for every room.
- Construction & Building — more construction and building guides.
- Foundation Cracks: What They Mean, What to Fix, and When to Worry — what different cracks mean.
- Understanding foundation cracks — which ones to fix and which ones to watch.