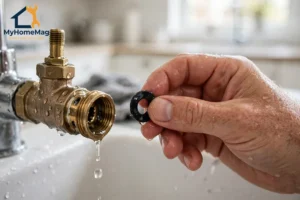
A tap that keeps dripping after you turn it off is annoying, and it is also wasteful. However, in many homes the cause is small and cheap to fix: a worn tap washer. For example, a washer that has hardened, flattened, or split can no longer seal properly, so a little water keeps sneaking past it.
Moreover, learning tap washer replacement is one of the most useful small plumbing skills a homeowner can have. In short, if you can turn off the water, take a tap apart carefully, and put it back together in the right order, you can often stop the drip in under an hour.
This guide is practical and US-focused, and part of MyHomeMag‘s Home Repairs guides. It explains what a tap washer does, how to tell whether it is the problem, which washer you need, and how to replace it step by step. It also covers when the job is better left to a plumber. If the drip is only part of the story, you may also want our broader guide to how to fix a dripping tap.
What a Tap Washer Does
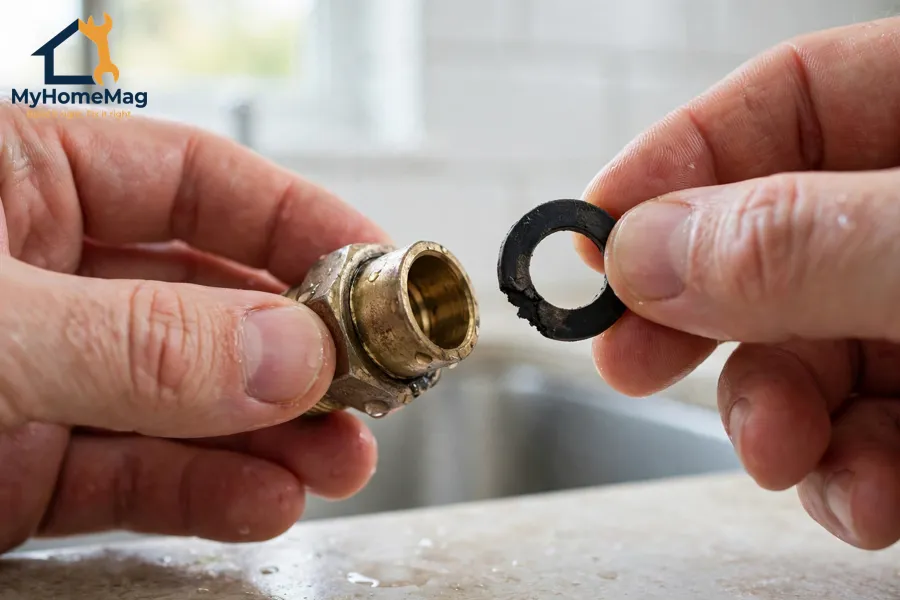
A tap washer is a small rubber or fiber disc that sits inside the tap valve. When you close the tap, the washer presses against a metal seat and blocks the water. When you open the tap, the washer lifts away and water flows through.
Over time, that washer takes a lot of wear. Every turn of the handle presses it, twists it, and rubs it against the seat. Hot water, hard water, and high pressure can speed up the damage. Eventually the washer becomes thin, grooved, or brittle, and it no longer makes a tight seal.
The result is familiar: a steady drip, a tap that needs an extra hard turn to stop, or a handle that feels loose. In some cases the tap may also squeak, shudder, or leak around the handle.
Is the Washer Really the Problem?
Before you buy parts, it helps to check whether a washer is the likely cause. A washer problem is most likely when the drip comes from the spout itself, after the tap is fully closed, and when the tap is a traditional compression tap with separate hot and cold handles that you turn several times.
However, not every drip is a washer drip. If the tap has a single lever, a cartridge, or a ceramic disc mechanism, it may have no traditional washer at all. In that case, replacing a washer will not help, and you may need a cartridge instead. Moreover, water leaking from the base of the tap, or from under the sink, usually points to a seal, supply connection, or drain problem, not the washer.
A quick check helps. Turn the tap off firmly, but do not force it. If the drip slows but never fully stops, and if the tap is an older compression style, a worn washer is a strong suspect. If the handle turns freely without stopping the water, the valve itself may be worn.
Tap Washer Types at a Glance
Not all washers are the same size or material, and using the wrong one can cause a new leak. The table below covers the most common types found in US homes.
| Washer type | Where you find it | Best for |
|---|---|---|
| Flat rubber washer | Compression taps, older faucets | General cold and hot water taps |
| Beveled rubber washer | Some older compression taps | Taps with a beveled valve seat |
| Fiber washer | Some valve and fitting joints | Heat-resistant joints, less common in spouts |
| O-ring | Around valve stems and spouts | Sealing a stem that leaks around the handle |
| Ceramic disc cartridge | Modern single-lever taps | Long-life taps, but this is a cartridge, not a washer |
For most simple tap washer replacement jobs, you will need a flat rubber washer in the right diameter. Take the old washer with you when you shop, or measure it carefully. A washer that is too small will not seal, and one that is too large will bunch up and leak.
It is also worth buying a small assortment pack. They are inexpensive, and having a few sizes on hand can save a second trip to the store. Moreover, keep the packaging and note which size worked, so the next repair is even easier.
Safety Checklist: Before You Start
Water and tools can cause damage quickly if you rush. Work through this checklist before you open the tap.
- Turn off the water. Use the shut-off valves under the sink. If there are none, turn off the main house supply.
- Open the tap to drain it. Let any remaining water run out, and keep a towel handy.
- Plug the drain. A small screw or washer dropped down the drain can turn a simple job into a plumbing call.
- Take a photo before you disassemble. Photograph the handle, trim, and valve in order, so reassembly is clear.
- Do not force anything. If a nut will not move, stop, apply penetrating oil if appropriate, and wait. Forcing a fitting can crack it.
- Stop if you see damage. A cracked valve, corroded fitting, or damaged supply line means call a plumber.
- Keep parts in order. Lay screws, washers, and trim pieces out in the order you removed them.
Once the water is off and the area is dry, you are ready to work.
Tools and Parts You Will Need
You do not need a large toolkit for this job. In most cases, a basic set will do.
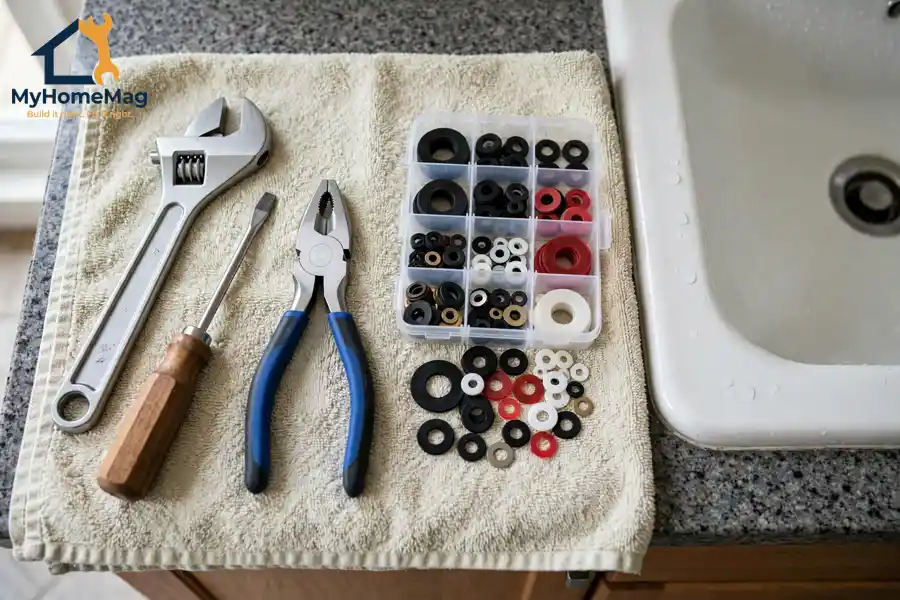
You will need an adjustable wrench, a screwdriver that fits the handle screw, pliers with jaw covers or a cloth to protect the finish, and a small container for parts. You will also need the new washer, and possibly a new O-ring if the stem seal looks worn.
Step 1: Turn Off the Water and Open the Tap
Start by closing the shut-off valves under the sink, turning them clockwise until they stop. Then open the tap you are repairing. This drains pressure and leftover water from the line.
If water keeps flowing strongly, the shut-off valve may not be fully closing. In that case, turn off the main house supply instead. However, do not start disassembly while water is still under pressure, because parts can spray out and the work area will flood.
Place a towel in the sink and plug the drain. This simple step protects both the finish and your small parts.
Step 2: Remove the Handle and Trim
Most tap handles are held by a screw, often hidden under a decorative cap. Gently pry off the cap with a flat screwdriver or a fingernail, taking care not to scratch the finish. Then remove the screw and lift the handle off.
Some handles may stick after years of use. If so, wiggle the handle gently from side to side rather than pulling hard. Moreover, note the position of any washers, springs, or trim rings as you remove them, and lay them out in order.
If the handle screw is corroded, do not strip it by forcing the screwdriver. Apply a little penetrating oil, wait a few minutes, and try again with a screwdriver that fits snugly.
Step 3: Remove the Valve and Find the Washer
With the handle off, you will see the valve stem, usually held by a large nut. Use an adjustable wrench to loosen that nut, turning it counterclockwise. Hold the tap body steady with your other hand so you do not twist the whole fitting.
Lift the valve stem out carefully. At the bottom of the stem, you should see the washer, often held by a small screw. In some taps, the washer sits in a recess and may need gentle prying to remove.
Inspect the old washer closely. Is it flattened, grooved, split, or hardened? For example, a washer with a deep ring worn into it has clearly been pressing against the seat for a long time. That wear pattern is a good sign that replacement should stop the drip.
Also check the valve seat inside the tap body. Run a fingertip lightly over it, if you can reach it safely. If it feels rough, pitted, or chipped, a new washer alone may not seal perfectly. In that case, a seat-dressing tool can smooth minor roughness, but a badly damaged seat is a job for a plumber.
Step 4: Fit the New Washer
Remove the screw holding the old washer, if there is one, and take the washer off. Compare the old washer with the new one side by side. They should match in diameter and thickness, and the new washer should feel flexible.
Fit the new washer onto the stem in the same position as the old one, and refit the holding screw snugly, but not so tightly that you distort the washer. However, do not use glue or sealant on a standard tap washer unless the tap maker specifically tells you to.
Step 5: Reassemble, Turn the Water On, and Test
Reassembly is simply the reverse of disassembly, using your photo and your laid-out parts as a guide. Refit the valve stem, tighten the large nut firmly but not excessively, refit the trim, and then refit the handle and its screw.
Before you celebrate, turn the water back on slowly. Open the shut-off valves a little at a time and watch for leaks around the valve and handle. Then open and close the tap several times.
Check three places: the spout, for a drip when closed; the handle area, for leaks around the stem; and under the sink, for drips from the supply connections. If all three are dry after a few minutes, the repair has worked.
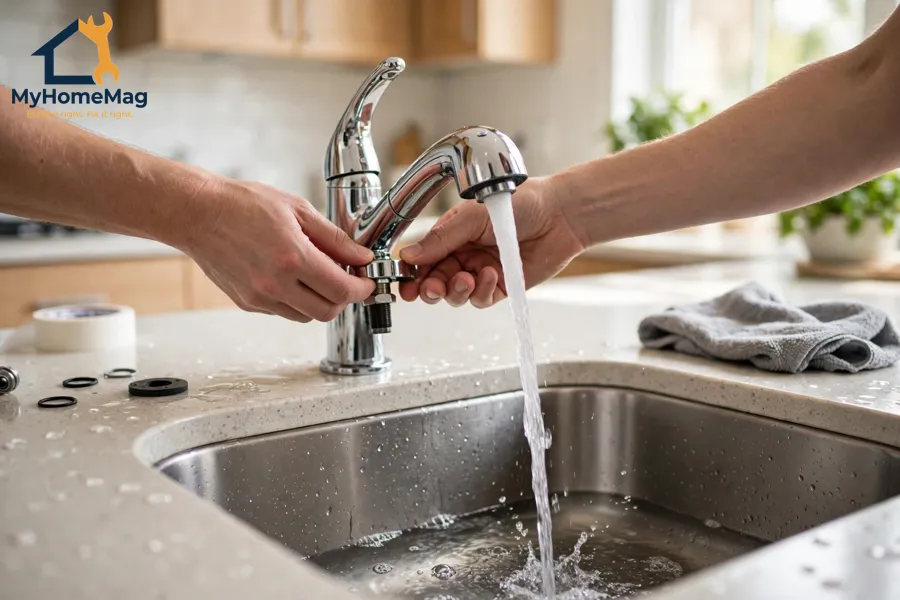
Prevention: Make the Next Washer Last Longer
Small habits can extend the life of a tap washer considerably.
- Close taps firmly, but do not crank them shut with extra force.
- Fix a drip early, before the washer wears a groove into the seat.
- Check taps every few months for a slow drip or a loose handle.
- Keep water pressure within the range your plumbing maker recommends.
- Replace washers at the first sign of hardening, not after a major leak.
- Keep a small washer assortment at home, so a repair is not delayed.
When to Call a Plumber
Tap washer replacement is a good DIY job, but it is not right for every situation. Call a plumber if the shut-off valve does not work, the valve body is cracked or heavily corroded, the seat is badly pitted, or water is leaking from inside the wall or under the floor.
You should also call a professional if you have tried a correct new washer and the tap still drips, or if the tap is a high-end, wall-mounted, or shower mixer with a complex cartridge. Moreover, if your home has old galvanized or lead pipes, do not disturb fittings without advice, because brittle pipes can break.
For other water problems around the home, our guides to a dishwasher not draining and a washing machine leaking can help you find the source safely.
What Tap Washer Replacement May Cost
If you do the job yourself, the parts cost is very low. The table below gives approximate US planning ranges only. These are not quotes, and actual prices vary by tap type, parts, and local labor rates.
| Option | Approximate US planning range |
|---|---|
| DIY washer assortment pack | $5–$15 |
| Single replacement washer | $1–$5 |
| O-ring set, if needed | $5–$12 |
| Plumber tap repair visit | $100–$250, depending on the job |
| New valve or cartridge, fitted by a pro | $150–$350, depending on parts |
For example, a simple DIY washer change that stops a drip can save a surprising amount of water over a year. Even a slow drip can waste hundreds of gallons, so a five-dollar part is often money very well spent.
FAQs
1. How do I know what size tap washer I need?
The safest way is to take the old washer with you when you shop, or measure its diameter and thickness carefully. Compare it side by side with the new washer before fitting it. If you are unsure, buy a small assortment pack with several common sizes, and keep the packaging note of which size worked.
2. Can I replace a tap washer without turning off the water?
No, you should not try. Even if the tap is closed, the supply line is still under pressure, and removing the valve can cause water to spray out. Always turn off the shut-off valves under the sink, or the main house supply, and drain the tap before you start.
3. Why does my tap still drip after tap washer replacement?
The most common reasons are a damaged or rough valve seat, a washer that is slightly the wrong size, or a worn valve. Check the washer fit and seat condition once more, and make sure you are not over-tightening the tap. If the drip remains, call a plumber to inspect the seat and valve.
4. How often should tap washers be replaced?
There is no fixed schedule, because it depends on use, water hardness, and pressure. In many homes, a washer lasts several years, but a tap that is used heavily or closed very tightly may need one sooner. Replace a washer at the first sign of a drip, hardening, or a handle that needs extra force to stop the water.