A dripping tap is small, annoying, and easy to ignore. However, that steady drip wastes water, stains a sink, and keeps you awake at night. The good news is that learning how to fix a dripping tap is one of the most useful small repairs a homeowner can learn.
For example, most drips come from a worn washer, a loose part, or a tired cartridge — not from a broken pipe. Moreover, the fix often takes less than an hour once you know which type of tap you have. In short, this practical, US-focused guide will help you find the cause, fix it safely, and decide when a plumber is smarter.
You can find more practical guides like this in our Home Repairs section here on MyHomeMag.
Why a Tap Drips
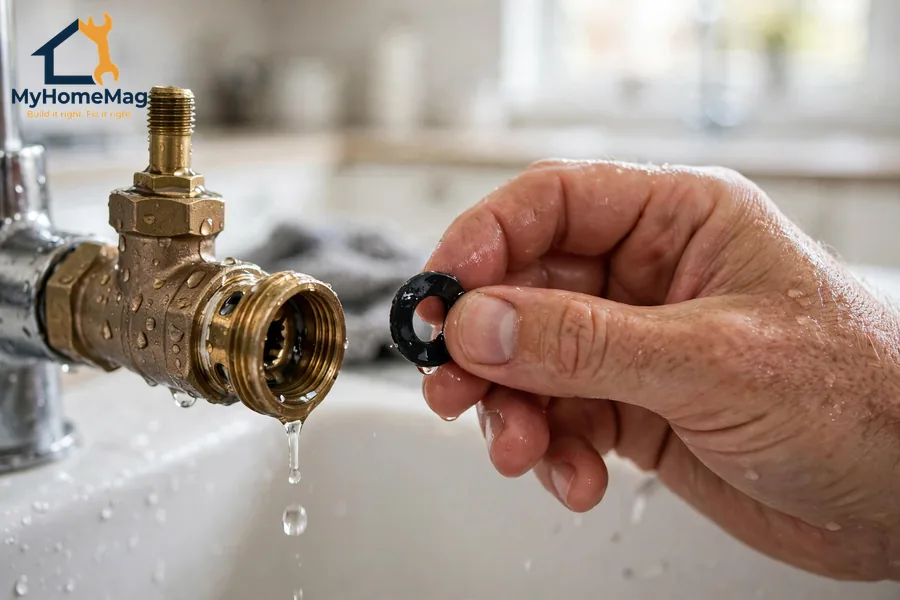
A tap controls water with a seal. When that seal wears out, hardens, or gets damaged by grit, water finds a tiny path through — and you hear it, drip by drip.
Age is the most common reason. A washer squeezed thousands of times eventually flattens and cracks, and hard water makes it worse, because mineral deposits stop it sealing cleanly. A loose handle, a worn O-ring, or a tired cartridge can cause the same symptom.
A drip is rarely an emergency, but it is rarely free either. A tap dripping once per second can waste several gallons a day. Fixing it early is cheaper than ignoring it.
Stop and Think First: Safety Checklist
Do these steps before you take anything apart. Water damage happens fast when a valve is left open.
- Turn off the water. Use the shut-off valves under the sink. If there are none, or they do not work, turn off the main house supply.
- Open the tap. Once the water is off, open the tap to release pressure and drain what is left in the pipes.
- Plug the drain. Put the plug in, or cover the drain with a cloth, so small screws and washers cannot fall down it.
- Take a photo. Photograph the tap and each part as you remove it. This makes reassembly much easier.
- Do not force anything. If a nut will not move, stop and use penetrating oil and patience. Forcing a fitting can crack it and turn a small repair into a plumber visit.
- Stop if you see damage. A cracked fitting, a corroded valve that will not close, or water leaking inside a wall means call a professional.
- Keep parts in order. Lay removed parts out in the order you took them off, on a towel.
Once the water is off and the drain is covered, you are ready to look inside the tap.
What Type of Tap Do You Have?
The repair depends on the tap type, so identifying it first saves time and wrong parts.
| Tap type | How to recognize it | Most common drip cause |
|---|---|---|
| Compression tap | Separate hot and cold handles that turn several times | Worn rubber washer |
| Ball tap | A single handle that moves in all directions, common in older kitchens | Worn ball, seats, or springs |
| Cartridge tap | A single handle that moves up, down, left, and right | Worn cartridge or O-rings |
| Ceramic disc tap | A single lever with a short, smooth quarter-turn movement | Worn ceramic discs or seals |
Most modern US kitchens and bathrooms use cartridge or ceramic disc taps. Older homes often still have compression taps, and those are the ones most associated with a classic tap washer replacement.
If you are not sure, take the old washer or cartridge to a hardware store and match it in person. A washer that looks almost right is not good enough — it must match in size and thickness.
Tools and Parts You May Need
You probably already own most of these. Gather them before you start, so you are not leaving a tap in pieces while you search for a wrench.
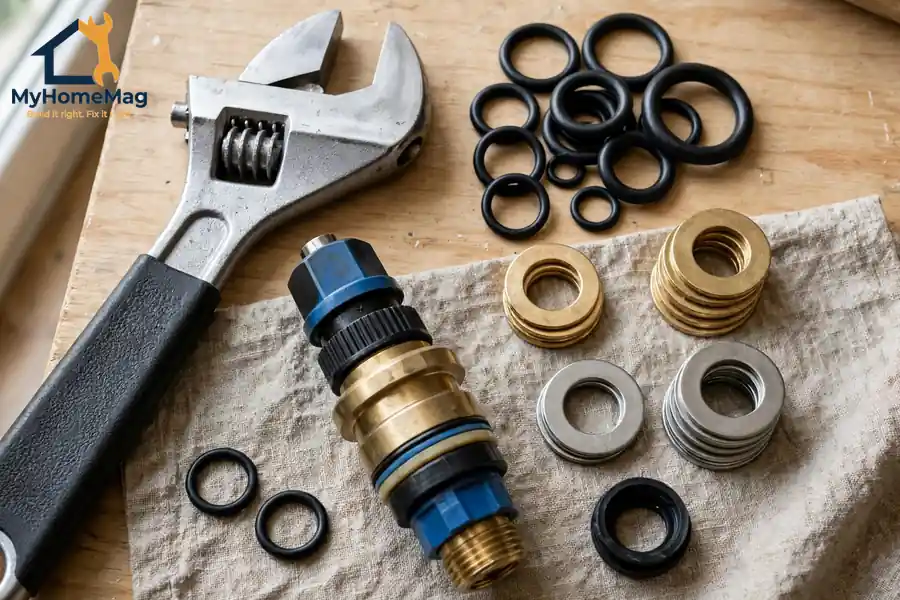
- Adjustable wrench and a set of Allen keys
- Flat-head and Phillips screwdrivers
- Pliers, with a cloth to protect chrome finishes
- A replacement washer, cartridge, or O-ring set, matched to your tap
- Plumber’s grease, white vinegar for mineral build-up, towels, and a torch
For example, a basic washer assortment costs only a few dollars, while a brand-specific cartridge can cost much more. Moreover, you may need to see the old part first, so keep the water off while you go to the store.
How to Fix a Dripping Tap, Step by Step
Step 1: Turn Off the Water and Drain the Tap
Turn off the shut-off valves under the sink, then open the tap to drain it. If the valves leak or will not close fully, turn off the main supply instead. Keep a towel under the tap.
Step 2: Remove the Handle
Look for a small screw, often hidden under a decorative cap or a red and blue indicator. Pop the cap off gently, remove the screw, and lift the handle off. If it is stuck, wiggle it gently rather than pulling hard, and use a little penetrating oil around the base if needed.
Step 3: Remove the Cover and the Valve
Under the handle you will find a cover or retaining nut. Unscrew it with an adjustable wrench, protecting the finish with a cloth, and lift out the valve, stem, or cartridge, keeping the parts in order. Take a photo here, because the order matters when you put it back.
Step 4: Inspect the Washer, Seat, and Cartridge
Look at the washer first: is it flat, cracked, grooved, or missing a piece? A tap washer replacement is the fix if it is worn, and it is one of the cheapest repairs in the home.
Next, check the valve seat, the surface the washer presses against, for roughness, pitting, or mineral build-up. A rough seat will damage a new washer quickly, so clean it gently with vinegar, or use a seat-dressing tool if the damage is light.
For a cartridge tap, look for cracks, stiffness, or worn O-rings. If it moves roughly or looks damaged, replace the whole cartridge. For a ceramic disc tap, check the discs and seals for chips or grit.
Step 5: Replace the Worn Part
Fit the new washer, O-ring, or cartridge, matching the old part exactly. A washer must sit flat and be held firmly; O-rings need a thin smear of plumber’s grease. Moreover, do not stack two washers to fill a gap. In short, the right part, fitted once, beats a near-enough part fitted twice.
Step 6: Reassemble, Slowly and in Order
Put the parts back in reverse order, using your photos as a guide. Tighten nuts firmly, but do not over-tighten — especially on chrome fittings, which can crack. Replace the handle, its screw, and the decorative cap.
Step 7: Turn the Water Back On and Test
Turn the shut-off valves back on slowly, then close the tap and watch. Check under the sink as well as at the spout. Run the tap, turn it off, and wait a few minutes. If it stays dry, you have fixed it. If it drips again, re-check the washer, the seat, and whether the part truly matched.
Common Causes at a Glance
| Cause | What you usually see | Most likely fix |
|---|---|---|
| Worn tap washer | A steady drip from the spout, worse over time | Tap washer replacement |
| Worn O-ring | Water leaking around the handle or base | Replace the O-ring set |
| Worn cartridge | A single-lever tap that drips, sticks, or feels rough | Replace the cartridge |
| Damaged valve seat | A new washer still leaks, or the drip returns quickly | Clean or dress the seat, or call a plumber |
| Loose or damaged handle parts | A wobbly handle and an intermittent drip | Tighten or replace the handle parts |
| High water pressure | Drips from several taps, or a tap that is hard to close | Check pressure and ask a plumber about a regulator |
Use this table as a starting point. The inspection in Step 4 will tell you which row fits your tap.
If the Drip Comes Back
A drip that returns quickly usually has a reason. First, check whether the replacement part matched exactly — a washer a fraction too small, or a cartridge for a different model, will seal for a day and then fail. Next, check the valve seat again, because a rough seat destroys washers. Also check that you did not over-tighten anything.
In addition, check your water pressure. Very high pressure strains every seal in the house. If several taps drip, or pipes bang when you turn a tap off, ask a plumber to check the pressure regulator.
Prevention: Small Habits That Stop Most Drips
Prevention is much cheaper than a stained sink or a wasted water bill.
- Do not over-tighten taps, or force the handle past its natural stop.
- Replace washers at the first sign of a drip, before the seat gets damaged.
- Clean aerators and filters regularly, so grit does not reach the valve.
- In hard-water areas, descale taps from time to time.
- Check under sinks every few months for slow leaks.
- On a long holiday, consider turning off the main supply.
Moreover, a tap that turns off easily will last longer. If a handle becomes stiff, clean and lubricate it early.
When to Call a Plumber — and What It May Cost
Call a plumber if the shut-off valves do not work, a fitting is cracked or badly corroded, the valve seat is deeply pitted, water is leaking inside a wall or under a floor, or you have tried a matched replacement part and the drip keeps coming back.
The table below gives approximate US planning ranges only. These are not quotes, and actual prices vary by tap brand, parts, and local labor rates.
| Job | Approximate US planning range |
|---|---|
| Tap washer replacement by a plumber | $100–$200, including parts and labor |
| Cartridge replacement by a plumber | $150–$300, including parts and labor |
| O-ring and seal repair | $100–$250, including parts and labor |
| Valve seat repair or tap replacement | $200–$450, depending on the tap and access |
| Fixing a shut-off valve that will not close | $150–$350, depending on access |
If the tap itself is old, corroded, or hard to find parts for, replacing the whole tap can be smarter than repairing it again. A new tap also gives you a fresh warranty and a water-saving design.
If water is causing trouble elsewhere in the house, our guides to a washing machine leaking and a dishwasher not draining cover similar safe checks.
A Practical Final Check Before You Call It Done
Before you put the tools away, run the tap, turn it off, and leave it for ten minutes. Check the spout, the handle, the base, and under the sink. A repair that looks dry for thirty seconds can still show a slow drip after a few minutes.
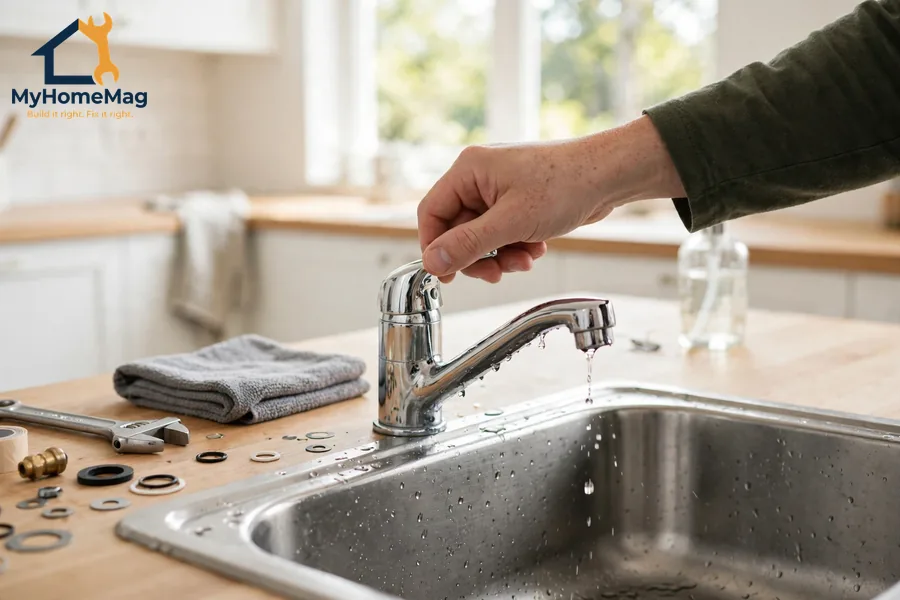
In short, a dripping tap is usually a small job with a big payoff: less waste, less noise, and a sink that stays clean.
FAQs
1. What is the most common reason a tap drips?
A worn washer or seal. Every time a tap is turned off, the washer is squeezed against its seat, and over time it flattens, cracks, or hardens. A tap washer replacement is therefore the first fix to check, especially on older compression taps.
2. Can I fix a dripping tap without turning off the water?
No, you should not try. You need the water off before you remove the handle or valve, or water will spray out under pressure. Use the shut-off valves under the sink, or the main house supply if those valves do not work.
3. How do I know whether I need a washer or a whole cartridge?
It depends on the tap type. Compression taps use washers, while single-lever taps usually use a cartridge. Separate hot and cold handles that turn several times point to a washer; one lever that moves up, down, and sideways points to a cartridge.
4. Why does my tap still drip after I replaced the washer?
The usual reasons are a washer that does not match exactly, a rough valve seat that damages the new washer, or a different fault such as a worn O-ring or cartridge. Re-check the seat, confirm the part matches the old one, and inspect the O-rings before repeating the repair.
5. When should I replace the tap instead of repairing it?
Consider replacing it if it is badly corroded, parts are no longer available, the valve seat is deeply damaged, or you have repaired the same drip more than once. A new tap often costs little more than a second professional repair.